Why 3D Printed Figures Break Easily and How to Prevent It
Last Updated: November 4, 2026
Quick Summary
3d printed figures break easily because of thin geometry, weak layer adhesion, and brittle materials. Stress concentrates at the thinnest points, like arms, legs, and spiral sections, so prints fail there first. Most breakage traces back to design and orientation decisions made before printing starts.
Aim for at least 1.5-2 mm at the thinnest point on 28-32 mm figure limbs.
Support removal is the most common cause of post-print breakage on thin features.
Figures snap along layer lines because the bond between layers is weaker than the material itself.
Infill above roughly 50% adds weight and print time with little strength gain on small parts.
Trapped liquid resin inside hollow sections can crack the surrounding wall days after printing.
Table of Contents
Why 3D Printed Figures Break: The Real Causes
Why 3D printed figures break easily comes down to three factors: thin geometry, weak layer adhesion, and brittle materials. A figure's arms, legs, and spiral sections carry far less material than the torso, so any stress concentrates there first. Prints fail at their thinnest point, every time.
Most breakage in 3D printed figures traces back to design and orientation decisions made before the printer ever starts.
Here's the part most guides get wrong: breakage isn't one problem. It's at least four, and each has a different fix.
Design failures: features too thin to survive handling
Print-time failures: poor layer adhesion or bad orientation
Material failures: brittle resin or filament that snaps under load
Post-processing failures: overcuring, trapped liquid resin, or rough handling
Diagnosing which one you're facing changes everything about the fix. A figure that cracked along a layer line needs orientation changes; one that shattered into jagged pieces points to brittle material.

Thin Features and Minimum Wall Thickness That Weaken Prints
Minimum feature size is the smallest dimension a printer can produce reliably, and it sets the floor for durability. Push a leg or sword blade below that floor and the part arrives fragile regardless of material. But "too thin" is not one number, it depends on scale, material, and orientation, and the practical fix is to treat each delicate feature on its own.
General design guidance for delicate features (practical starting points, not hard limits):
Arms and legs on a 28-32 mm figure: Aim for at least 1.5-2 mm at the thinnest point. Below roughly 1 mm, standard resin limbs snap during support removal more often than during play.
Weapon shafts and staffs: 1.5 mm minimum diameter for display pieces; 2.5 mm or more if the figure will be handled. A wire or paperclip core cast into the print is a common reinforcement.
Ankles and feet: The highest-stress joint on most figures. 2-3 mm at the ankle, with a flat foot pad, distributes load better than a tapered leg.
Spiral tails and horns: These taper to a point by design. Keep the last 5 mm above 0.8 mm, or accept that the tip is decorative and will not survive handling.
Wing membranes and capes: Anything under 0.6 mm behaves like paper and tears at layer lines. Thicken to 0.8-1 mm or add a raised rib along the edge.
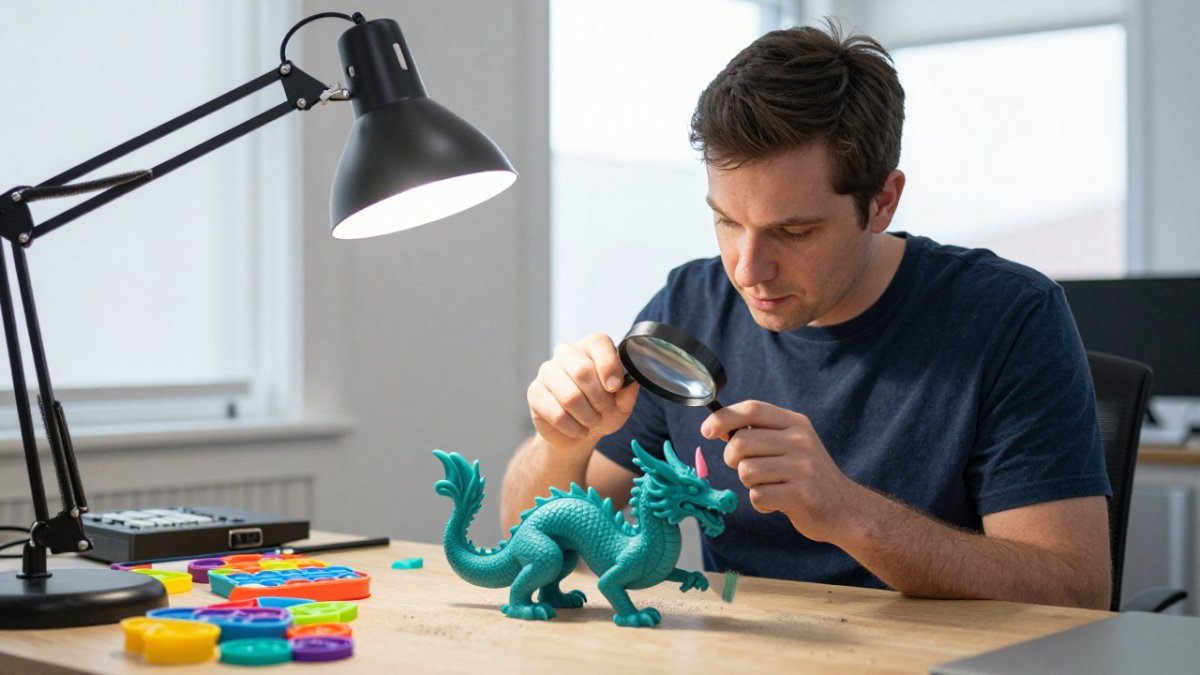
A common mistake is scaling down a model without checking wall thickness. A dragon's wing membrane that prints fine at full size becomes paper-thin at 75% scale. Thicken delicate features before printing: arms, ankles, weapon shafts, and spiral tails are the usual suspects. Where a feature can't be thickened, orient it so it isn't bearing load.
Separate print-time failures from post-print breakage when diagnosing a thin feature. A limb that fails mid-print, drooping, delaminating, or snapping off the supports, is a print-time problem: orientation, support placement, or exposure. A limb that prints cleanly and breaks later is a design or handling problem: too thin, wrong material, or rough support removal. The fix is different in each case, and treating them as one problem is why the same figure keeps failing.
Watch out: support removal is the most common cause of post-print breakage on thin features. Remove supports while the print is still slightly warm and use flush cutters rather than pulling, and never lever a support against a thin limb.
Layer Adhesion and Print Orientation: Why Figures Snap
Layer adhesion is the bond between stacked layers, and it's the weakest plane in any FDM print. Figures snap along layer lines because the bond between layers is weaker than the material itself.
Orientation decides where those weak planes sit relative to stress. Print an arm horizontally and its layers run crosswise to the load, so it snaps at the shoulder. Rotate it so layers run along the length of the arm and the same stress travels through solid material.
Support placement matters too. Supports that fuse to a delicate surface leave scars and weak spots when removed. Angle the model to minimize supports on visible, fragile areas.
How to Make 3D Prints Stronger
Making 3D prints stronger is a matter of controlling variables one at a time. Change everything at once and you learn nothing about what actually fixed the break.
Run a controlled troubleshooting checklist:
Print a test piece at current settings and break it deliberately
Increase wall count only, reprint, compare the break
Adjust print temperature up in small steps to improve layer bonding
Change orientation only, reprint, compare
Switch material last, once geometry and settings are dialed in
The one-variable rule is the difference between guessing and knowing. Most people tweak five settings, get a stronger print, and can't repeat the result.
Resin vs PLA Durability for Figures
Resin vs PLA durability for figures is not a single trade-off; it is a matrix of impact resistance, detail retention, and post-processing risk. Standard resin produces crisp detail but is brittle and shatters on impact. PLA is tougher and more forgiving but shows layer lines and holds less fine detail. Neither is universally "stronger", the right choice depends on how the figure will be handled.
Material-specific guidance for miniature figures:
Standard resin: Best detail, lowest impact resistance. Suitable for display miniatures that stay on a shelf. Thin limbs and weapons are the first to snap.
ABS-like resin: Noticeably more impact-resistant than standard resin while retaining most detail. A common choice for figures that get handled but not abused.
Tough resin: Formulated for functional parts; higher elongation before break than standard or ABS-like resin. Good for articulated joints and weapons that flex.
Flexible resin: Bends rather than snaps, but deforms under sustained load and is difficult to sand or paint cleanly. Best for thin, exposed features like tails and fingers.
PLA filament: Tough under slow loads, brittle under sharp impact. Layer lines are visible, and fine detail is limited by nozzle size.
PETG filament: More impact-resistant than PLA with better layer adhesion, but strings and blushes more readily. A reasonable middle ground for handled figures.
TPU filament: Highly impact-resistant and flexible, but difficult to print at miniature scale and poor at holding fine detail.
Post-processing changes the durability of every material on that list. Resin figures are most vulnerable during washing and curing, not during printing. Isopropyl alcohol contact time matters: leaving a print in the wash station too long softens fine features and can cause them to droop or crack later. Overcuring is the other common failure, resin that cures well past the recommended window becomes noticeably more brittle, and thin features that survived washing will snap during assembly or play.
Watch out: trapped liquid resin inside hollow sections is a delayed failure. Resin that pools in a hollow torso or limb and cures later expands and cracks the surrounding wall, often days after the print looks finished. Drain and cure hollow prints thoroughly, and add drain holes in hidden areas.
For display miniatures, standard resin's detail wins if the figure stays on a shelf. For pieces that get handled often, tougher materials such as PLA, PETG, or a tough resin blend generally hold up better to drops. If you're weighing resin for collectibles specifically, reach out to Carolina Printworx3D for guidance on the trade-offs.
Each material brings a different balance of detail, impact resistance and handling risk.
Material | Best for | Key difference |
Standard resin | Display miniatures that stay on a shelf | Best detail, lowest impact resistance |
ABS-like resin | Figures that get handled but not abused | More impact-resistant than standard resin, retains most detail |
Tough resin | Articulated joints and weapons that flex | Higher elongation before break |
Flexible resin | Thin, exposed features like tails and fingers | Bends rather than snaps, deforms under sustained load |
PLA filament | Figures under slow loads | Tough under slow loads, brittle under sharp impact |
PETG filament | Handled figures | More impact-resistant than PLA, better layer adhesion |
TPU filament | Impact-resistant flexible parts | Difficult to print at miniature scale, poor fine detail |
3D Printing Infill Settings for Strength
Infill percentage matters less than wall count for small figures. More perimeters, not denser infill, is what makes a miniature survive handling. Infill above roughly 50% adds weight and print time with little strength gain on a small part.
For figures, prioritize walls first, then a moderate infill pattern like gyroid that distributes stress evenly. Our guide to print settings for a durable articulated dragon walks through the specific values we use.
Repairing a Broken Figure Safely
Repairing a broken figure safely starts with matching the adhesive to the material. Cyanoacrylate glue bonds PLA and resin cleanly; avoid excessive accelerator, which can cloud surfaces and weaken the joint.
Pin the joint for load-bearing breaks: drill a small hole in each side and insert a short piece of wire or paperclip before gluing. This takes the stress off the adhesive. For stiff or damaged joints on articulated prints, our guide on how to loosen stiff articulated joints safely covers the handling that prevents the next break.
Choosing Durable 3D Printed Figures from Carolina Printworx3D
The most reliable way to avoid breakage is to start with a figure built to survive handling. Carolina Printworx3D is an American-owned company based in North Carolina, offering a range of 3D printed products including articulating prints and dragons.
You can browse our specialty prints collection to see the range. If you want a strong custom piece rather than a fragile one, our steps to order a custom 3D print walk you through the process before you buy.
Frequently Asked Questions
Why are my 3D printed figures breaking so easily?
Most breaks come from three factors: thin features like arms and legs that lack material, weak layer adhesion from printing too cold or too fast, and brittle materials such as standard resin. Orientation also matters because layer lines create weak planes. Check your wall thickness, raise nozzle temperature slightly, and slow down outer walls. If you print miniatures, consider tough resin or a higher infill percentage for FDM.
Are resin prints more fragile than filament prints?
Standard resin is more brittle than PLA and cracks under impact, but tough and ABS-like resins close that gap. PLA is tougher but can snap along layer lines if adhesion is poor. For miniature figures with fine detail, resin wins on detail but needs careful handling. For larger, handled often pieces, PETG or PLA+ may hold up better. The resin vs PLA durability for figures depends on the specific resin type and print settings.
Can brittle 3D prints be saved or repaired?
Yes. For resin, clean the break with isopropyl alcohol, apply a small amount of cyanoacrylate glue, and hold for 30 seconds. For FDM, use a two-part epoxy or plastic weld. After gluing, you can reinforce the joint with a thin layer of resin or baking soda and glue. Avoid flexing the part. If the break is in a high-stress area, consider reprinting with a stronger material or thicker walls.
What causes brittleness in 3D printed PLA?
PLA becomes brittle from moisture absorption, printing at too low a temperature, or excessive cooling. Over time, PLA also crystallizes and loses flexibility. Store filament in a dry box, print at the manufacturer's recommended temperature, and reduce fan speed for better layer bonding. Adding more perimeters and using a higher infill also improves toughness. For figures that need to flex, PETG is a better choice.
Fragile prints aren't inevitable. They're the result of design, orientation, and material choices, and every one of those is fixable. Carolina Printworx3D prints every figure with reinforced geometry and careful orientation, so your dragon, dice tower, or collectible arrives ready to handle, not ready to snap. Get started with Carolina Printworx3D and bring home a print that lasts.
Comments