Prevent Layer Lines on 3D Prints: A Step-by-Step Guide
Last Updated: November 8, 2026
Quick Summary
Layer lines come from stacked FDM layers, so they can't be fully eliminated, but you can reduce them. Start by lowering layer height to about 0.12 to 0.16 mm on a 0.4 mm nozzle, then calibrate flow, temperature, outer wall speed and cooling, changing one variable at a time.
Layer height has the biggest direct effect on how visible layer lines are.
Keep outer wall speed around 30-50 mm/s for visible parts.
Adjust flow rate in 2-3% steps and check the walls.
Test temperature in 5°C steps using a temperature tower.
Rule out belts and the lead screw before changing slicer settings.
Want smoother, detailed 3D prints?
Carolina Printworx3D offers American-made articulating prints, dragons, fidget toys and collectibles.
Table of Contents
Layer lines are the ridges you see on almost every FDM print, and they're the first thing people notice on a finished piece. The good news is that most of them come from a handful of settings you can change.
Layer lines are the visible horizontal steps created when a printer lays down successive layers of melted filament. Each layer sits slightly on top of the one below it, and the edge of each layer catches the light differently. According to the Prusa Knowledge Base on layer height and surface quality, layer height has the biggest direct effect on how visible those steps are.
What Causes Layer Lines in 3D Printing
Layer lines come from the physical geometry of stacking layers, so they can never be fully eliminated on FDM. The same quality factors also affect strength, as explained in why printed figures break easily. What you can control is how large they look.
Tall layers create bigger steps. Uneven extrusion from a poorly tuned flow rate makes the steps look bumpy instead of smooth. Cooling and temperature affect how cleanly each bead of filament bonds to the one before it.
Common causes at a glance:
Layer height set too high for the detail you need
Flow rate or extrusion multiplier off by a few percent
Print temperature too low, so the filament doesn't flow evenly
Insufficient or uneven part cooling
Speed changes that cause pressure to fluctuate
Curved surfaces facing the camera-visible side of the print
Watch out: if your layer lines look irregular in a repeating pattern, the cause is usually mechanical, not a setting. Check the belts and frame before adjusting slicer values.
Start With a Controlled Test: Changing One Variable at a Time
The fastest way to waste a week is to change five settings at once. When the print improves, you won't know which change did it. Instead, pick one variable, print a calibration object, and compare the result against a baseline.

Print a simple cylinder or a small test cube in a single color before you start. Keep everything else fixed while you change one value. Label each print with the setting you changed.
Suggested test order:
Baseline print with your current profile
Layer height change only
Flow rate change only (in 2-3% steps)
Temperature change only (in 5°C steps)
Outer wall speed change only
Cooling fan change only
A small notebook on the desk works well for this. Record the filament brand, the temperature, and a short note on how each print looks under raking light.
3D Printer Layer Height Settings and Their Trade-Offs
Layer height is the setting most people reach for first, and it's the one that trades quality for time. Smaller layers look smoother but take longer.
Teaching Tech
For most FDM printers using a 0.4 mm nozzle, a layer height between 0.12 mm and 0.16 mm gives a good balance of surface finish and print time.
Adaptive layer height, available in many modern slicers, uses thin layers only where the model curves and thicker layers on flat areas.
Watch out: a very thin layer height with a nozzle that's too small for it can cause under-extrusion and weak bonding between layers. Stay within the range your nozzle supports.
Choosing Layer Height for Small Detailed Parts
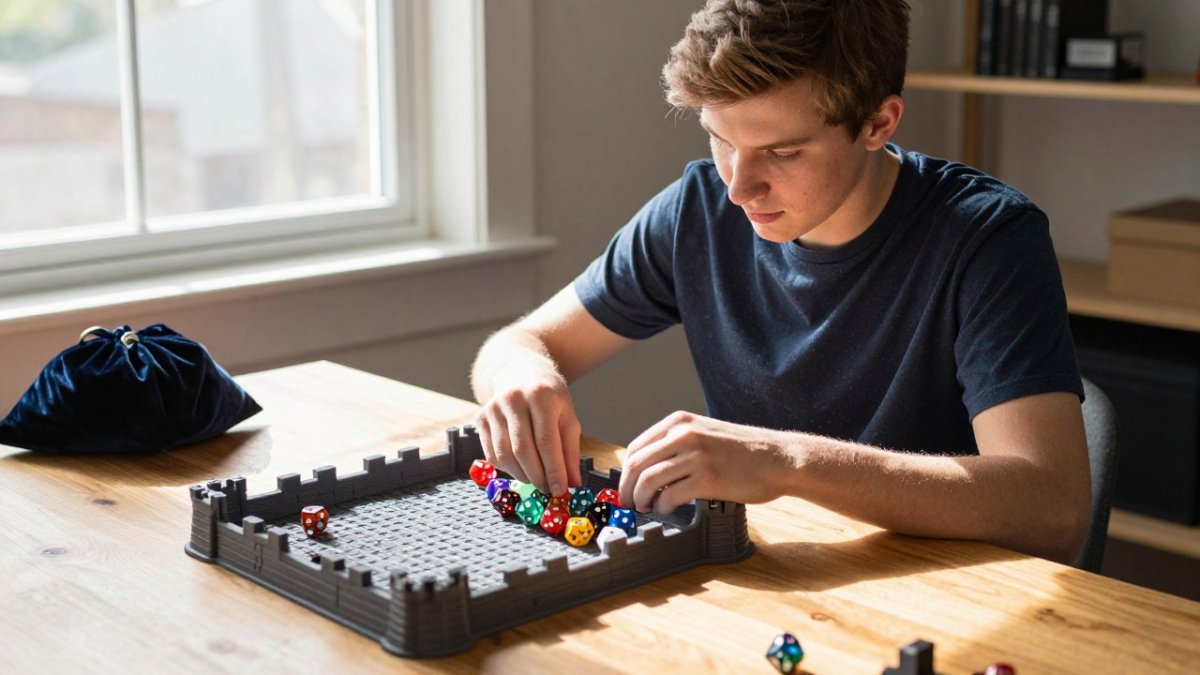
Small parts, like dice towers and tabletop accessories, reveal layer lines more clearly because each curve is a larger share of the visible surface. For these parts, a finer layer height is often worth trying, and you can go finer if the test print still shows ridges. The high detail miniatures guide covers layer height and orientation choices for fine parts.
Orient the model so the most visible faces are vertical or nearly vertical, not sloped. Sloped surfaces show the stair-step effect most strongly.
Tuning Speed, Flow, Temperature, and Cooling
Once your layer height is set, these four settings decide most of the remaining surface quality.
Print speed affects how consistently the nozzle pushes filament.
Flow rate should be calibrated so each line of filament is the right width. Too much flow makes bumps; too little leaves gaps.
Temperature matters more than most people expect. If the nozzle is too cool, the filament won't flow smoothly and the layer lines look rough.
Cooling helps layers set quickly so each one holds its shape. For a worked settings guide aimed at tough prints, see settings guide for durable prints.
Watch out: changing speed and temperature at the same time makes results hard to read. Use the one-variable test method above.
The four settings below decide most of the remaining surface quality once layer height is set.
Setting | Suggested action | Key note |
Print speed | Outer walls around 30-50 mm/s | Slower walls help consistent extrusion |
Flow rate | Adjust in 2-3% steps | Too much makes bumps, too little leaves gaps |
Temperature | Test in 5°C steps with a tower | Too cool causes rough lines, too hot causes stringing |
Cooling (PLA) | Strong part cooling fan | Improves surface detail |
Cooling (PETG) | Moderate fan speed | Too much cooling can weaken layer bonding |
Checking Printer Calibration and Mechanical Health
Before you change another slicer value, rule out the machine.
Symptom-to-cause map for mechanical layer lines:
Even, repeating bands at a fixed vertical interval, usually Z-axis lead screw or coupler issues. Measure the distance between bands. If it matches the lead screw pitch (commonly 2 mm, 4 mm, or 8 mm depending on the screw), inspect the lead screw for binding, debris, or a loose coupler. Clean the screw, lubricate it sparingly, and check that the coupler set screws are tight.
Bands that shift or wobble side to side, often a loose belt or a gantry that is not square. Check belt tension by plucking each belt; it should sound like a low guitar string, not a loose thrum. Verify that the X gantry is level relative to the frame and that eccentric nuts on the carriage are snug but not over-tight.
Irregular blobs or thin spots in a repeating pattern, usually inconsistent extrusion from a partially clogged nozzle, worn nozzle orifice, or extruder gear slipping. Inspect the nozzle under light, run a cold pull, and check extruder tension.
Lines that appear only on one side of the print, often frame rigidity or a loose bed. Push the frame corners gently; any flex means the machine will ring and show artifacts on direction changes.
First-layer inconsistency that fades higher up, bed leveling or a warped bed. Re-level and check for bed flatness with a straightedge.
Run a hand-motion check with the power off. Move each axis slowly and feel for tight spots, grinding, or play. A healthy axis moves smoothly with light resistance and no side-to-side slop.
After mechanical checks, confirm steps-per-millimeter and flow on a single-wall test. Small errors there compound across a print and can look like layer lines even when the machine is sound.
Watch out: if you adjust belts, lead screws, and slicer settings in the same session, you will not know which change fixed or caused the problem.
How to Get Rid of Layer Lines on PLA Prints
PLA is the most forgiving material for surface finish because it is stiff, cools quickly, and holds fine detail, but it still rewards a disciplined, material-aware approach.
Start with a PLA baseline. Print a small cylinder or calibration cube in a single color with your current profile.
Measurable starting ranges for PLA on a 0.4 mm nozzle:
Layer height: 0.12-0.16 mm for visible parts; 0.08 mm only if the test print still shows ridges and you accept roughly double the print time. Stay at or below about 75% of nozzle diameter to avoid weak layer bonding.
Nozzle temperature: start in the middle of the manufacturer's range (commonly 200-215 °C for many PLA blends) and confirm with a temperature tower in 5 °C steps.
Outer wall speed: 30-50 mm/s is a common clean-surface range; slower walls give the extruder time to keep pressure consistent.
Part cooling: full fan after the first few layers for most PLA; reduce only if you see poor layer adhesion on tall, thin parts.
Flow: calibrate on a single wall and adjust in 2-3% steps; too much flow creates bumps, too little leaves gaps.
Controlled PLA test sequence:
Baseline print with current profile.
Change layer height only; reprint and compare.
Change flow only in 2-3% steps.
Change temperature only in 5 °C steps using a tower.
Change outer wall speed only.
Change fan setting only.
Label each print with the single variable you changed.
Prevention versus cosmetic smoothing. Sanding with progressively finer grit, filler primer, and careful painting hide lines but do not prevent them.
Watch out: if you change temperature and speed in the same test, the result will be ambiguous.
Reducing Layer Lines on Resin and PETG Prints
PETG and resin behave differently from PLA, so the same settings won't transfer cleanly.
PETG is tougher and more prone to stringing. It needs slightly higher temperatures and less aggressive cooling than PLA. A good starting point is a lower outer wall speed and a moderate fan speed.
Resin printing (SLA or MSLA) doesn't produce FDM-style layer lines in the same way, but the layer exposure still leaves visible striations on some surfaces. Thinner layers and good model orientation reduce this.
Watch out: resin handling involves chemicals. Wear gloves and follow the manufacturer's safety data sheet. Check your local rules for disposal, since resin is not something to pour down a drain.
Your Next Print: Applying the Settings That Worked
Once you have a combination that looks clean, save it as a named profile so you can repeat it. Note the layer height, flow, temperature, speed, cooling and orientation.
If you're making small detailed pieces for the first time, our guide to high detail 3D printing for miniatures covers the layer height and orientation choices that matter most for fine parts.
Layer lines won't disappear completely, but a careful, one-variable approach gets you a finish you're happy with. Keep your test notes, and the next print will be easier than the last.
Want a clean finish without the trial and error? Join Carolina Printworx3D and explore our range of articulating prints, dragons, fidget toys and anime-inspired collectibles, all made with precision and care.
Frequently Asked Questions
How do I avoid layer lines in 3D printing?
Start by lowering the layer height, for example from 0.2 mm to 0.12 mm, which makes each layer thinner and less visible. Then reduce outer wall speed so the nozzle deposits plastic more consistently, and confirm the filament is dry and the extruder is calibrated. Change one setting at a time and print the same test model after each change so you can see which adjustment actually helped.
Does a smaller layer height make 3D prints smoother?
Yes, in most cases. A smaller layer height produces thinner layers, so the steps between them are less pronounced and the surface looks smoother. The trade-off is print time, which often increases substantially at very fine layer heights. For small detailed parts such as dice tower components, a fine layer height is often worth the extra time, while larger functional parts can use a coarser setting.
How do I remove layer lines from a PLA print?
Preventing layer lines through settings works better than removing them afterward. If lines are already present, you can lightly sand the surface with progressively finer grit, then apply a filler primer and sand again. PLA does not respond to acetone the way ABS does, so chemical smoothing is not a reliable option. Adjusting layer height, speed, and cooling on the next print will do more than any post-processing step.
Can print orientation make layer lines less noticeable?
Yes. Layer lines are most visible on curved and sloped surfaces where the stair-stepping effect appears. Orienting the model so that important cosmetic faces are vertical or sit on the build plate, rather than at a shallow angle, reduces how many layer steps are visible on those surfaces. Orientation does not eliminate layer lines, but it can make the most important faces look noticeably cleaner.
Comments