How Do You Clean a 3D Printed Anime Model Safely?
Table of Contents
What You Need Before You Start Cleaning
Cleaning a 3D printed anime model is simple, but the wrong tool can ruin fine detail in seconds. Before you touch a figure, gather the right supplies and set up a safe space.
Most damage happens because people rush. A stiff brush can snap a thin arm, and harsh solvents can leave the surface cloudy.
Here is what most people need:
Nitrile gloves to keep skin oils off the surface
Soft-bristled brush (an old toothbrush works well for light grime)
Shallow tray or bowl for rinsing and soaking
Lint-free microfiber cloth for drying and polishing
Isopropyl alcohol (90% or higher) for resin prints only
Warm water and mild dish soap for PLA prints
Compressed air or a clean paintbrush for dust in small crevices
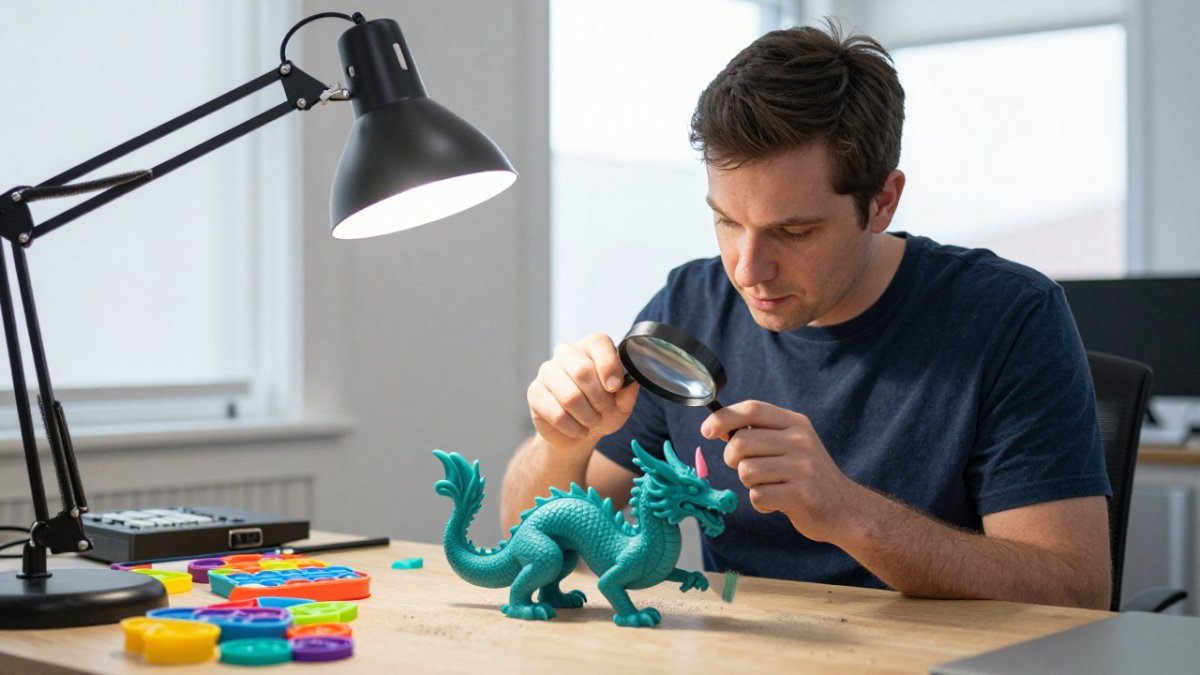
Choose a clean, well-lit workspace with good airflow. Lay down paper towels or a silicone mat to catch drips. Good lighting helps you spot leftover resin or residue.
Watch out: Never clean resin prints with bare hands. Uncured resin can irritate skin, so always wear gloves.
Here is the quick version:
Item | Best For | Avoid Using On |
Nitrile gloves | All prints | Nothing |
Soft brush | Light dust and residue | Thin or fragile parts |
Isopropyl alcohol | Resin prints | PLA prints (can cause damage) |
Warm soapy water | PLA prints | Uncured resin |
Microfiber cloth | Drying and polishing | Wet surfaces that still hold solvent |
Once your supplies are ready, you can move on to the specific method for your print type.
How to Clean Resin 3D Prints Without Damaging Detail
Resin prints show incredible detail, but they also need careful cleaning. Uncured resin stays sticky, and it can fill fine lines if you scrub too hard. The goal is to remove the tacky layer without wearing down the surface, and to do it in a way that is safe and repeatable. A two-bath wash followed by a controlled cure is a common approach for fine anime figures.

Step 1: Drain and separate
When the print comes off the build plate, let it drip back into the vat for 30 to 60 seconds. Remove supports before washing if they are easy to reach; otherwise, wash first and snap supports after the first cure stage. Keep a dedicated drip tray so uncured resin does not spread across your workspace.
Step 2: Two-bath isopropyl wash
Use two containers of isopropyl alcohol (90% or higher). The first bath removes most of the residue; the second rinses away the remaining film. Dip the figure in the first bath for about 2 to 3 minutes, swishing gently. Move it to the second bath for another 1 to 2 minutes. Do not leave the print soaking for long periods, because prolonged exposure can dull the surface and soften fine edges.
Use fresh alcohol in the second bath; replace it when it turns cloudy
Keep the first bath for the dirty work and the second for the final rinse
Avoid stacking prints while they are still wet
Watch out: Water-washable resins should be cleaned in water, not alcohol, check the resin bottle before you dunk the print. Using the wrong solvent can leave a gummy film that is hard to remove.
Step 3: Dry before curing
Let the figure air dry on a paper towel until the surface no longer looks wet. Any alcohol trapped in a hollow section or deep crevice can cause surface defects during cure. If the model is hollow, make sure the drainage holes are clear and tilt the piece so liquid can escape.
Step 4: Cure in stages
Resin prints need a final cure under UV light for full strength. Resin prints typically need a final cure under UV light for full strength. Follow your resin maker's guidance for exact timing. Follow your resin maker's guidance for exact timing, because over-curing can make the resin brittle and under-curing leaves a tacky surface that attracts dust.
Step 5: Post-cure inspection
After curing, check the figure under good light. Look for shiny patches (under-cured), white haze (over-exposed or solvent-damaged), and filled-in detail around hair strands, small weapons, and gaps between limbs. A soft brush can clear loose residue, but do not scrub cured detail with alcohol, it can cloud the surface.
Matching resin to the figure
The cleaning workflow changes with the resin. Standard resins hold fine detail but are brittle; tough or ABS-like resins resist breakage on thin parts like swords and hair spikes; flexible resins help with articulated joints but can attract dust. Some makers choose different resins for detailed areas and load-bearing parts. Test a small print first so you know how the resin behaves before you commit a full figure to the wash-and-cure cycle.
Common problems and fixes
Sticky surface after cure: under-cured or insufficient wash, reclean in fresh alcohol, dry fully, and cure longer
White haze: over-exposure or long solvent soak, reduce cure time and shorten the wash
Lost detail in crevices: resin pooled during wash, use a soft brush in the second bath and check drainage holes
Brittle thin parts: over-cured or wrong resin, shorten cure and consider a tougher resin for those parts
Once the print is clean, dry, and fully cured, handle it by the base and move on to painting or display.
How to Clean PLA 3D Prints for Anime Figures
PLA is generally easier to clean than resin. See a damage-free PLA cleaning walkthrough for a similar printed object. Still, it can scratch or show fingerprints if you handle it roughly.
Fill a bowl with warm water and add a few drops of mild dish soap. Dip the figure and let it sit for two to three minutes. This loosens dust and oil from the surface.
Use your soft brush to clean edges and textured areas. Rinse the figure under lukewarm water, then pat it dry with a microfiber cloth. Do not rub hard, because PLA surfaces can dull or develop fine scratches.
Use warm water, not hot, to avoid warping
Skip harsh scrubbing pads
Dry the piece completely before display
Watch out: Never soak PLA in alcohol or strong solvents. These can leave a whitish film or make the surface feel rough.
Safe Cleaning Products for 3D-Printed Models
Choosing the right cleaning product protects both your print and your health. Many common household cleaners are too harsh for 3D printed figures, and some, like acetone, can dissolve the print entirely. This section covers what to use, what to avoid, and how to handle each product safely, which is the part most cleaning guides skip.
Product-by-product guidance
Mild dish soap and warm water: the default for PLA prints. A few drops in a bowl is enough; rinse and pat dry. Safe for skin and low-fume.
Isopropyl alcohol (90% or higher): the standard for resin prints. Use in a ventilated area, keep away from flames, and store in a closed container. It is flammable and gives off strong fumes.
Compressed air: useful for dust in crevices, but keep the nozzle back from thin parts. High-pressure blasts can snap a fragile arm or antenna.
Soft-bristled brush or clean paintbrush: dry cleaning for painted figures and dusting. No fumes, no residue.
Microfiber cloth: drying and polishing. Lint-free and safe on most surfaces.
What to avoid
Acetone: can melt or soften many 3D printing resins and PLA; also a strong fume source
Bleach and ammonia-based cleaners: can damage surfaces and release irritating fumes
Harsh scrubbing pads: scratch surfaces and dull paint
Alcohol on painted areas: can lift paint or dull the finish, spot-test first or use only a damp cloth with water
Ventilation and PPE
Resin and alcohol work should happen in a well-ventilated space, an open window, a garage, or a dedicated room with airflow. Nitrile gloves are the minimum for handling uncured resin; some makers also use a respirator when working with alcohol in a closed room. Keep bottles closed when not in use, and store them away from heat and open flames.
Watch out: Never clean resin prints with bare hands. Uncured resin can irritate skin, and repeated exposure can sensitize you over time. Gloves are not optional.
Storage and disposal
Keep isopropyl alcohol in its original labeled container, away from heat and flames
Let used alcohol settle, then reuse the clear portion; dispose of the sludge according to local household hazardous waste rules
Do not pour uncured resin or resin-contaminated alcohol down the drain
Keep cleaning supplies out of reach of children and pets
Test before you commit
Test any new product on a hidden spot first. Let it dry, then check for dullness, haze, or softening. A small test patch on the base or back of the figure saves you from ruining a finished piece. Once you know how a product behaves on your resin or PLA, you can clean with confidence.
How to Remove Fingerprints from Figurines
Fingerprints are common on painted and unpainted figures alike. The oils from your skin can leave shiny marks, especially on smooth surfaces.
For resin prints, wipe the spot with a cloth lightly dampened with isopropyl alcohol. Use a second dry cloth to buff the area. For PLA, use a slightly damp cloth with a drop of mild soap, then dry right away.
Handle figures by the base when possible. This reduces oil transfer and keeps the upper details cleaner.
Watch out: Do not use alcohol on painted areas. It can lift paint or dull the finish. Spot-test first, or use only a damp cloth with water on painted surfaces.
Removing Dust and Handling Painted Figures Safely
Dust builds up fast in small crevices, especially around armor, hair, and facial features. Regular light cleaning keeps your collection looking its best.
Use a soft brush or compressed air to blow dust out of tight areas. Work from the top down so loose debris falls away from the figure. Avoid high-pressure air near thin parts, since a strong blast can snap a fragile arm or antenna.
Painted figures need extra care. Use only a soft, dry brush and avoid liquids unless you have tested the paint. Gently support the figure while you clean, and never grip it by thin protruding pieces.
If you display your figures in a case, dust the case regularly to prevent dust from settling back on the pieces.
Booking a Professional Cleaning or Choosing Your Next Print
Some pieces need extra care, especially if they are rare, heavily painted, or badly soiled. For current options and a quote, visit the Carolina Printworx3D website and contact the team there.
If you are shopping for your next print, you can browse our anime collectibles for unique, high-quality designs. For more fantasy display options, check out our fantasy display pieces and keep them dust-free with the cleaning steps above. You can also browse our 3D printed product listings to find something new for your collection.
Frequently Asked Questions
How do you clean a 3D-printed anime figure?
Start by removing dust with a soft brush, then wash the figure gently to lift oils and residue. For resin prints, rinse in isopropyl alcohol of 90% or higher, then let it dry fully before handling. For PLA prints, warm water with a drop of mild dish soap works well. Avoid scrubbing hard on fine details like hair, faces, and thin accessories. Dry the figure with a lint-free cloth or let it air dry for several hours before display or painting.
Can you wash a resin 3D-printed model with water?
Water alone will not clean uncured resin residue well, because the sticky layer is not water-soluble. Resin prints are usually rinsed in isopropyl alcohol first, then washed with warm water and mild soap to remove any remaining film. Rinse thoroughly and allow the model to dry completely, since trapped moisture can cause a cloudy surface on the finished print. Always wear nitrile gloves and work in a ventilated area when handling alcohol and uncured resin.
Can isopropyl alcohol damage a painted 3D-printed model?
It can. Isopropyl alcohol can soften or lift some acrylic paints and clear coats, especially if the paint is fresh or thinly applied. To reduce risk, test an inconspicuous spot first, use a higher concentration to minimize soak time, and avoid long soaks on painted parts. Gentle wiping with a soft brush or cotton swab is safer than submerging a finished figure. Let painted models cure fully before any cleaning.
How do you remove fingerprints from a 3D-printed model?
Oils from fingers can leave a dull or smudged look, especially on smooth surfaces. Wipe the figure with a soft microfiber cloth lightly dampened with warm water and a small amount of mild dish soap, then dry it right away. For stubborn marks on resin, a cotton swab with isopropyl alcohol can help, but test it first on a hidden area. Handle figures by the base or with gloves during future display and painting to reduce repeat marks.
Comments