How to Order Personalized 3D Prints: A Step-by-Step Guide
Last Updated: October 31, 2026
Quick Summary
To order personalized 3D prints, define your project in one clear sentence, gather 2-3 reference images, and send a brief covering size, color, purpose, and any text you need. Choose a material and process that match how the piece will be used, then review and approve the proof before printing.
You do not need a 3D model to order a custom 3D print; a sketch or description can work.
STL stores shape only, while 3MF also carries color, material, and unit details.
Walls below roughly 0.8 mm in FDM or about 0.5 mm in resin risk snapping.
Ask for resin on small detailed pieces and PETG or PLA for large handled parts.
Batch all proof change requests in one message so the seller fixes everything in one pass.
Table of Contents
Step 1: Define Your Personalized 3D Print Project
Ordering personalized 3D prints starts with one question: what do you actually want on your shelf? Some buyers want a standard piece with a name, logo, or color swap; others want something built from scratch. Knowing which camp you're in saves days of back-and-forth.
What Personalization Can and Cannot Do
Personalization means changing an existing 3D model to fit your needs: names, colors, sizes, and small design tweaks.
Here's what a printer can usually change:
Add a name, date, or short text to a model
Swap colors or materials
Scale a model up or down within safe limits
And here's what gets tricky:
Full character likenesses tied to a licensed brand
Very thin details that break during printing
Sizes beyond what the printer bed allows
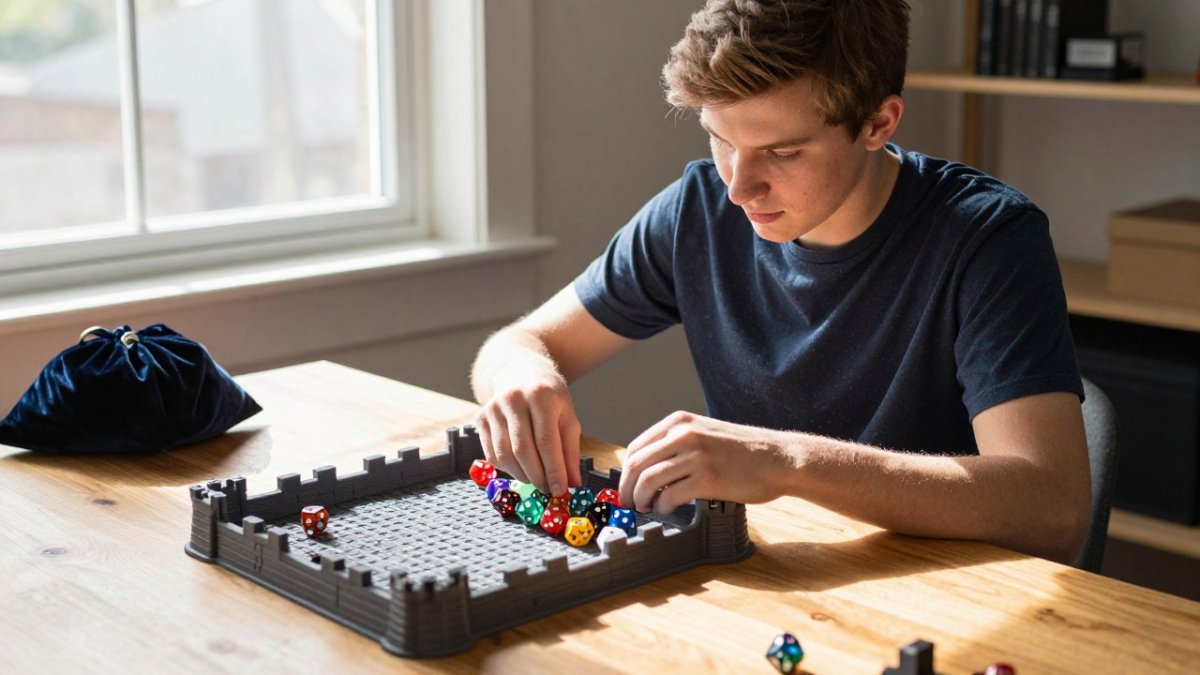
Write your goal in one sentence. "A dice tower with my campaign logo on the base" beats "something cool for game night." That sentence becomes your order brief.
If you want to browse finished pieces first, you can shop for 3D prints at Carolina Printworx3D.
Step 2: How to Get a Custom 3D Print Without a 3D Model
You do not need a 3D model to order a custom 3D print. Some print providers can work from a sketch, a reference photo, or a plain description, and build or adapt a model from it.
Describing Your Idea So a Printer Can Build It
Vague requests slow everything down. Specific ones move fast. A common mistake is sending a single blurry photo with no context.
Try this instead:
Send 2-3 clear reference images from different angles
Note the rough size you want, in inches or centimeters
Say what the piece is for: display, table use, or a gift
Here's a short message template you can copy:
Hi, I'd like a custom order. I'm attaching three reference photos of a dragon figurine. I want it about 6 inches tall, in dark green, with the name "Raven" on the base. It's a display piece for a desk. Can you tell me if this is possible and what you'd need from me?
That message gives the seller everything needed to reply with a real answer.
Step 3: Choose the Right 3D Print File Formats: STL and 3MF
STL and 3MF are the two file formats most 3D printing services accept. An STL file stores the shape of a model as a surface mesh (STL (STereoLithography) File Format Family). A 3MF file stores the same shape plus color, material, and unit details in one package.
Which one should you send? If your file has no color info, STL is fine. According to the 3MF Consortium specification, the format was built to carry print settings and color data that STL cannot hold.
What Makes a File Printable
A file that looks fine on screen can still fail in the printer. Print providers run a slicer, software that converts the model into machine instructions, and it is unforgiving. Most rejected or failed orders trace back to a handful of mesh problems:
Holes in the mesh (not watertight). The slicer cannot tell inside from outside, so it may fill the hole, leave a gap, or refuse to slice. A watertight model has every edge shared by exactly two faces.
Non-manifold geometry. Edges shared by more than two faces, or zero-area faces, confuse the slicer, often after combining parts or importing from CAD.
Inverted normals. Faces pointing the wrong way make the slicer treat the outside as inside, producing inside-out or missing walls.
Run a Printability Check Before You Upload
You do not need expensive software to catch most problems. A few free or low-cost tools will do it:
Open the file in a viewer such as Windows 3D Viewer, PreForm, or an online STL viewer. Visible holes or missing faces mean stop and fix.
Run a mesh repair tool. Cura, PrusaSlicer, and Bambu Studio include repair options, and Meshmixer or Microsoft's 3D Builder can fill holes and fix normals. Many online print services also run automatic repair and will tell you if the file needed it.
Check wall thickness in your modeling software or a mesh analysis tool. If the thinnest wall is under the material's minimum, thicken it or ask the provider whether it will survive.
Confirm the scale by measuring a known dimension in the viewer against your intended size.
Remove stray parts by deleting disconnected shells before export.
Pro Tip If you are ordering from a provider that offers a file-check or proof step, use it. A five-minute review by the seller catches problems that would otherwise become a failed print and a reprint negotiation.
What Providers Will and Will Not Fix
This is where expectations often break down. Most print providers will:
Run an automatic mesh repair and slice the file
Scale a model to a size you specify
Add supports and orient the part for a better print
Most will not:
Redesign geometry, sculpt missing detail, or fix a fundamentally broken model for free
Guarantee a print when the file has thin walls, deep undercuts, or detail below the process resolution
Match an exact color from a screenshot without a physical reference
If your file needs real design work, ask for a modeling quote separately. A provider that quietly "fixes" a broken file may also change the design in ways you did not approve.
For deeper guidance on resolution and fine detail, read our guide to high detail 3D printing for miniatures before you upload.
Step 4: Select Custom 3D Printing Materials and Colors
Material choice decides how your print feels, weighs, and holds up. FDM suits larger, tougher pieces; resin suits fine detail like miniatures and small figurines. Match a specific material and process to how the piece will be used, handled, and displayed.

Match the Material to the Use Case
Start with the job the print has to do, then work backward to a material. Print providers typically stock a small set of common materials, so knowing the names helps you ask the right question.
Display pieces and miniatures: Resin (SLA or DLP) captures fine detail, sharp edges, and smooth surfaces filament cannot match at small scale. The trade-off is brittleness, thin resin parts can chip if dropped.
Large desk models and props: PLA filament is the most common FDM material. It is rigid, prints in many colors, and holds fine-enough detail at larger sizes. It softens in a hot car, so keep it out of direct sun and high heat.
Functional parts and table use: PETG filament offers more impact resistance and slight flex than PLA, and tolerates moisture and moderate heat better.
A practical rule: small and detailed, ask for resin. Large, handled often, or needs to survive a drop, ask for PETG or PLA. Must flex, ask for TPU. Lives outside, ask for ASA.
Understand the Process Trade-offs
FDM builds a piece layer by layer from filament, so layer lines are visible unless the provider sands or smooths them. Resin cures liquid photopolymer in a vat, producing smoother surfaces and finer detail but requiring post-processing and offering fewer color options at the point of printing.
Consideration | FDM (filament) | Resin (SLA/DLP) |
Detail at small scale | Moderate | High |
Surface finish | Visible layer lines | Smooth |
Impact resistance | Good (PETG, PLA) | Lower (brittle) |
Max size | Larger build volumes | Smaller build volumes |
Color options | Wide filament range | Limited; often painted |
Post-processing | Support removal, optional sanding | Washing, curing, support removal |
Typical relative cost | Lower for large pieces | Higher per gram for small detail |
Use the table as a starting point, not a rule. A provider may offer a specific resin or filament blend that changes the trade-off, so confirm the exact material name before you approve a quote.
Choose Colors and Finishing Realistically
Single-color prints come in many filament shades, and the color is the material itself, it will not chip off. Painted finishes add hand labor and lead time.
Ask the seller which method fits your piece before you commit. A few practical notes:
Screens lie. A bright orange on your monitor can arrive closer to rust. Ask for a photo of the actual filament or resin spool, or a sample print, before approving.
Color matching is approximate. Even with a hex code, the result depends on material, lighting, and finish. Treat exact matches as a goal, not a guarantee, unless the provider explicitly offers color matching.
Painted details add cost and time. Hand-painted eyes, logos, or weathering are labor, not material, and usually push turnaround out by days.
Ask These Questions Before You Approve a Material
A short list of questions prevents most material surprises:
What exact material and process will you use, and what is its name?
Is the piece strong enough for how it will be handled?
Will the color be material-through or painted, and how durable is the finish?
Does the material have heat, UV, or moisture limits I should know about?
What post-processing is included, and what costs extra?
If the provider cannot answer these plainly, get a second quote. Material selection is where a cheap quote and a durable print most often diverge.
Step 5: Understand Custom 3D Print Cost and Turnaround Time
Custom 3D print cost depends on factors such as material, print time, model complexity, and finishing work. You can also review pricing tiers and membership options that could reduce your per-print cost. Pricing depends on quantity, dates, and delivery, so request a custom quote from Carolina Printworx3D with your file or description, size, material, color, and deadline.
Step 6: Review Your Proof and Approve the Print
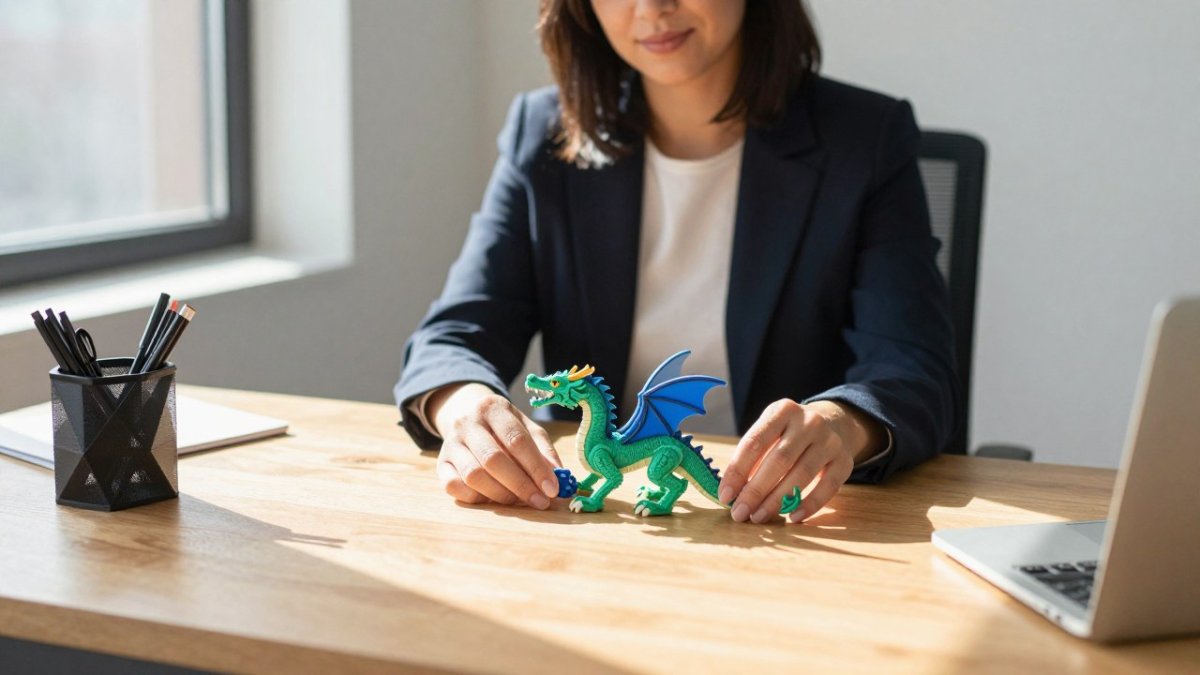
A proof is a preview of your print before the machine runs. Many print providers send one for custom work. Review it closely.
Check these before you approve:
Spelling on all text and names
Scale against your stated size
Color match to your request
Ask for changes in one message, not five. Batch your notes so the seller can fix everything in one pass.
Wondering whether the price is fair?
Step 7: Check Quality, Shipping, and Revisions When Your Print Arrives
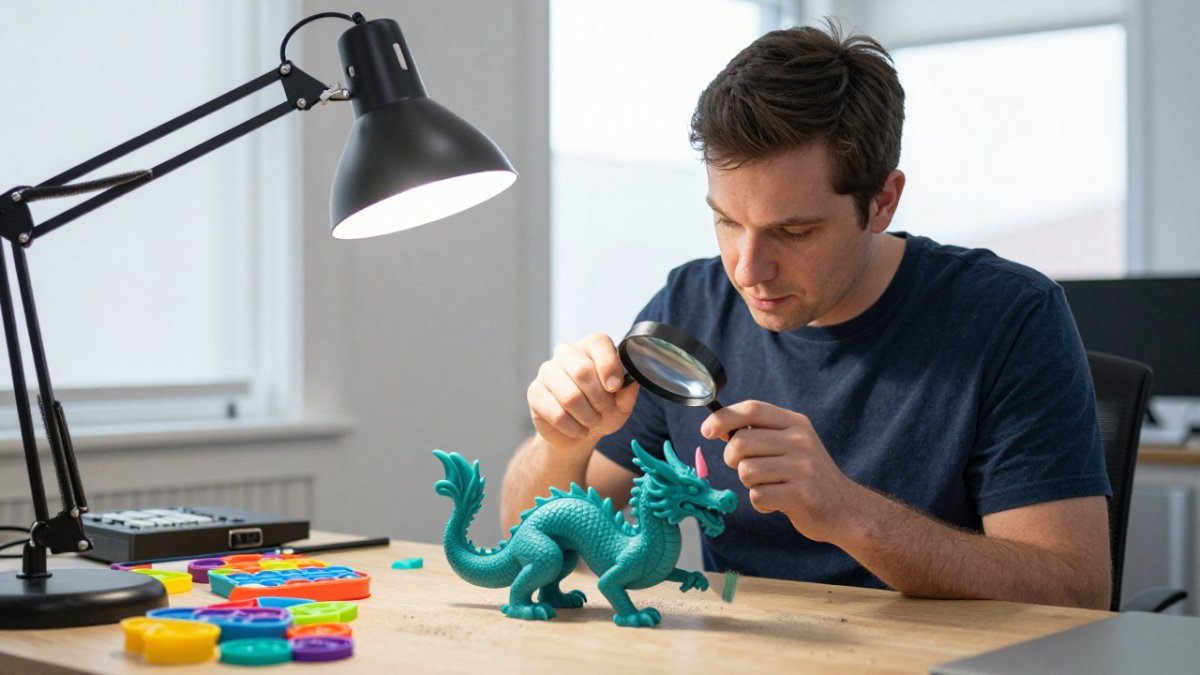
Open the box and inspect the print before you toss the packaging. Check layer lines, joints, and any glued parts, then test moving pieces like articulating dragons or fidget toys.
What to do if something's wrong:
Photograph the issue in good light
Message the seller within their stated window
Describe the fault plainly, no venting
A weak joint or a cracked base is a real defect, not bad luck. Ask about the revision policy before you order, not after.
If American-made sourcing matters to you, our guide on where to buy American-made 3D prints covers what to look for.
Start Your Personalized 3D Print Order with Carolina Printworx3D
The gap between a great custom print and a disappointing one comes down to preparation. A clear brief, a checked file, and a proof review catch most problems before they cost you.
At Carolina Printworx3D, our catalog covers articulating prints, dragons, fidget toys, and anime-inspired collectibles.
Get started with Carolina Printworx3D and turn your idea into a finished piece you'll actually want on display.
Frequently Asked Questions
Can I order a personalized 3D print if I don't have a 3D model?
Yes. You do not need a finished 3D model to place an order. Many print providers accept a written description, reference photos, or a rough sketch and turn it into a printable design. Expect to answer questions about size, pose, color, and how the piece will be used. If you already have a model, you can upload the STL or 3MF file directly and skip the design stage.
What file format should I use for a custom 3D print?
STL is the most widely accepted format and works with nearly every print provider. 3MF is a newer option that stores color, material, and unit information in a single file, which helps when you want multi-color or full-color printing. Export at the real-world scale in millimeters, check that the mesh has no holes or flipped faces, and keep the file under your provider's upload limit. When in doubt, send both formats and ask which one they prefer.
How much does a personalized 3D print cost, and how long does it take?
Pricing depends on the size of the print, the material, the printing process, and how much design work is needed. A small fidget toy costs far less than a large display dragon with hand-finishing. Turnaround time also varies: simple catalog items ship faster than fully custom pieces that need modeling and a proof review. Request a custom quote with your dimensions and deadline so the provider can confirm both cost and delivery date before you commit.
What should I check before approving a 3D print proof?
Look at four things: dimensions, orientation, color, and weak points. Confirm the measurements match what you asked for, especially if the piece needs to fit a specific space like a dice tray. Check that thin parts such as wings, tails, or joints are thick enough to survive shipping and handling. Verify the color against a real swatch rather than a screen render. Ask about revisions if anything looks off, and get the shipping date in writing before you approve.
Ready to order? Send us your idea, your reference images, and your deadline. We'll reply with a plan and a quote.
Comments